How to Repair an Air Compressor Tank

January 13th, 2008 25 comments

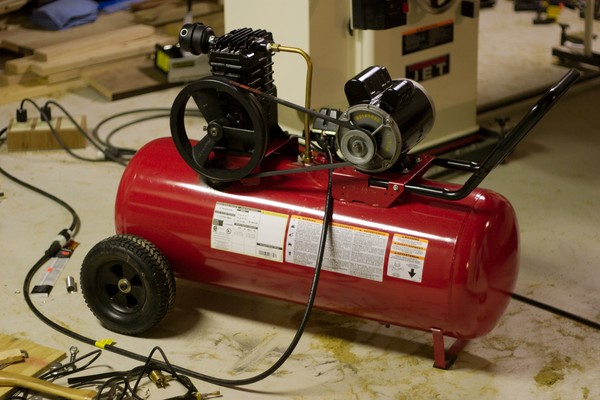
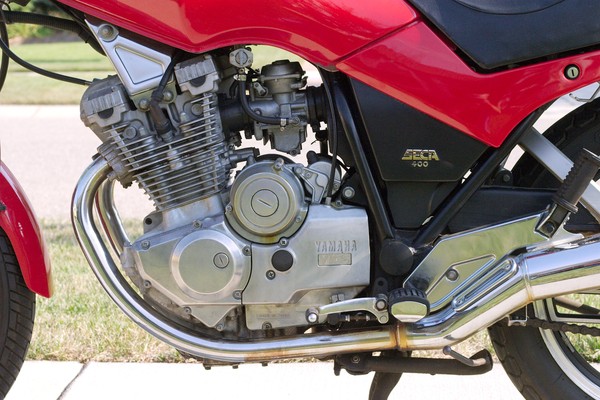
My 28 gallon air compressor recently sprung a leak and I was determined to fix it.  The tank is only 5 years old and it is not that rusted yet.

I don’t recommend that anyone try repairing their own tank.  A weakened or improperly repaired tank has the potential to rupture violently with enough explosive force to seriously injure or kill.

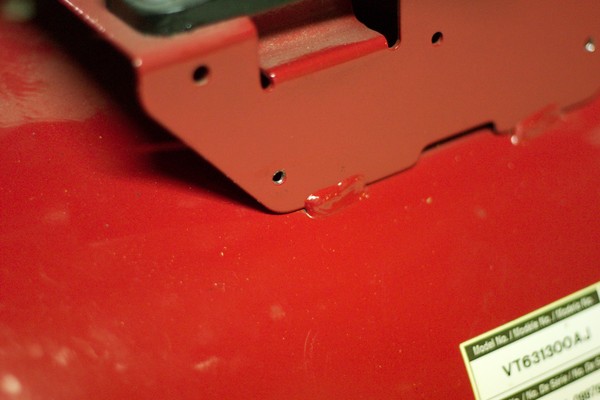
The air was exiting at a weld joint for the compressor mount.  My guess is the original weld may have partially blown through the case.  I run my compressor hard and since the belt wasn’t perfectly aligned, this caused excess vibration and stress at the weld joint.

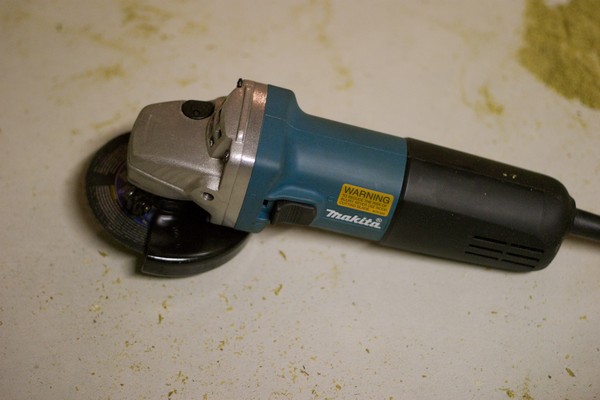
My trusty angle grinder to the rescue.  I needed to get a better look at the extent of the air leak.

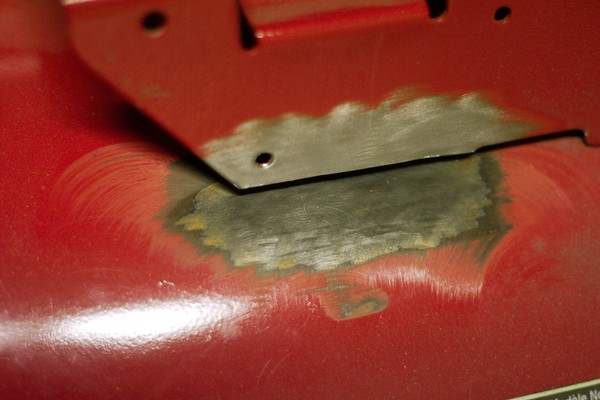
I had to cut the mount plate away and grind the weld spot smooth.  The hairline crack was so small… I couldn’t see it.  I had to partially pressurize the tank to locate the crack.

I have a mig welder, but I’m a novice with it and didn’t want to make matters worse.  I’ve had great success with brazing in the past and thought brazing was an excellent solution for this problem.

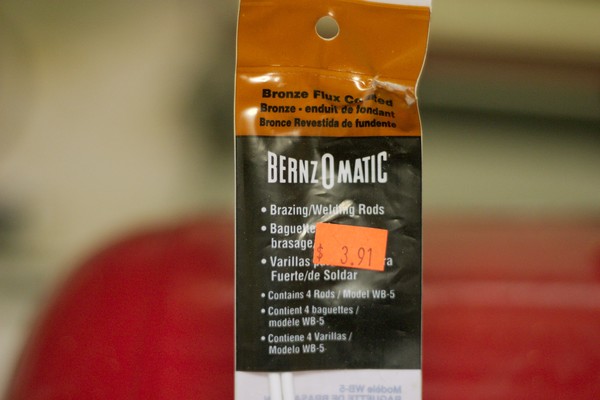
I am using bernzomatic bronze brazing rods which have a tensile strength of 60000 PSI and a working temperature of 1620F.

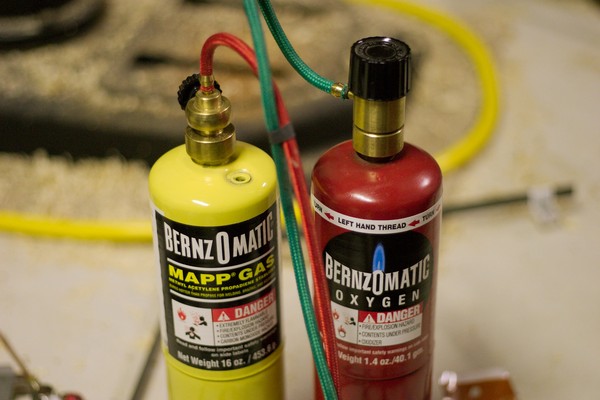
I use a mini torch setup with mapp gas and oxygen, which can produce a temperature around 2400F.

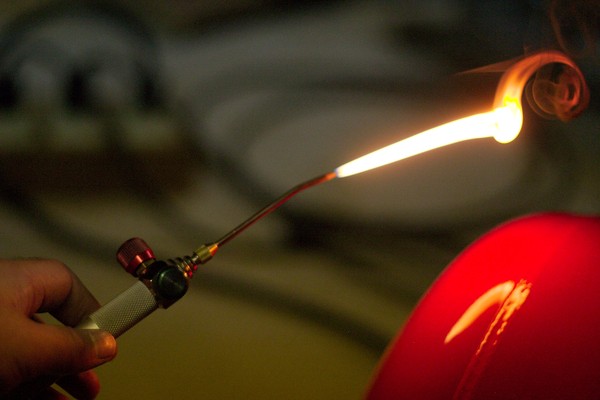
Here is my mini torch with mapp gas only.  The flame appears slow, very orange, and with lots of black soot.

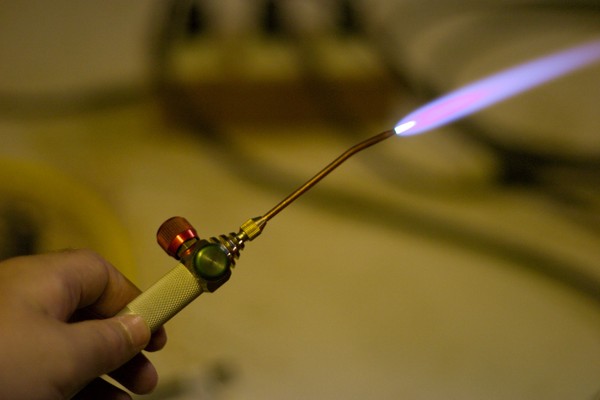
Here is what it looks like after I add the oxygen… a very hot focused blue flame.

Not pretty but very very solid.
I over shot the crack for added strength and stability.

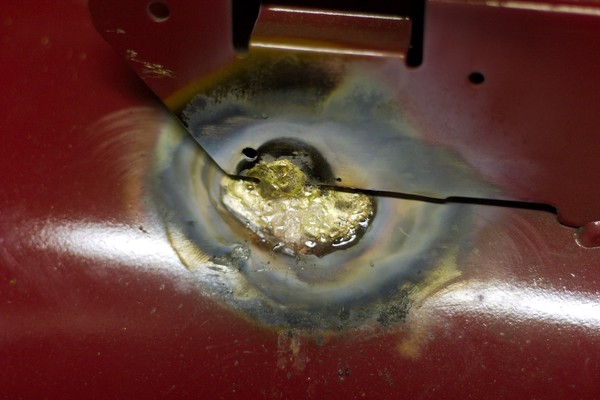
The secret of brazing for me… is patience.  It took a while to heat the metal to the point it would melt the bronze.  My torch is smaller than most, but that’s my problem.

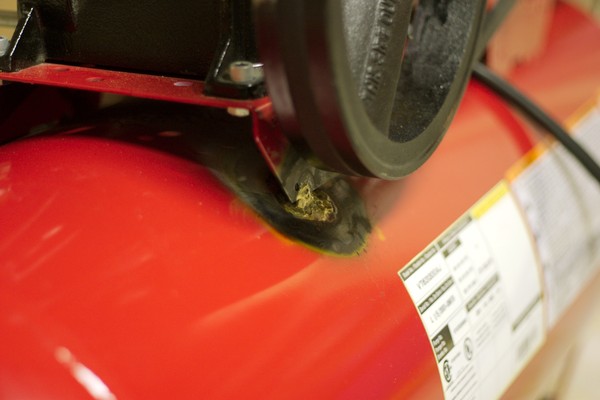
Here she is.  I carefully aligned the belt to reduce vibration.  I pressurized the tank to 125psi and the gauge reads the same after 24 hours.

Categories: DIY Tags:

Digital Oscilloscope

December 17th, 2007 6 comments

Digital oscilloscope project created with wirewrapped microprocessor and hand built LED array.

This is a digital oscilloscope that I built in 1987 in college.  It is based on the early generation 8088 CPU.

This is an excerpt from my project log book.  My professor made us keep a log book of project design, circuit diagrams, and source code.

Download project log book (pdf file)

Partial circuit diagram from log book.

I tediously built the 28×16 digital led display.

I had to melt each side of every LED so that the would fit close together.

448 LEDs soldered into a XY grid.

It takes a lot of wirewrapping to connect all of the circuitry.  This was the industry technique for prototyping electronic circuits in the 80’s.

This is an early test program (assembly source code), which was stored on the erasable programmable memory chip (EEPROM).  Assembler programming is just 1 step above programming at the binary level.

Categories: Gadget Tags:

2007 Triumph Thruxton

November 11th, 2007 9 comments

2007 Triumph thruxton.  Is she cool or what?  Black is the fastest color, ya know.  This is a cold start, on a cold day, so it took a minute to warm up.

I hated the redesign of the 2008 model where they got rid of the clip-on style handlebars, so I had to get the last 2007 model from my local triumph dealer. I am very satisfied with my decision. I had the dealer add the predator exhaust, AI kit, flyscreen, knee pads, and bar end mirrors.

The top reasons I chose the triumph thruxton over the ducati sport 1000:

– price, including maintenance costs
– I didn’t like the ducati vibration at low rpm
– the thruxton is plenty fast enough, but the duc was scary fast
– the retro thruxton was just cooler lookin for my taste
– sounds great with british customs predator exhaust
– more devoted fan base and mod options for the thruxton

Engine closeup.  2007-2008 are the last years of the old-school carbureuter on the triumph thruxton.  From late 2008, the carb is actually electronic fuel injection inside a fake carb body.

Categories: DIY Tags:

1982 Yamaha Seca 400

August 25th, 2007 8 comments

1982 Yamaha Seca 400cc – 19800 miles

This was my second motorcycle.  I bought it in college after my honda mb5 50cc bike was stolen.  This yamaha seca cost me $1200 in 1984.  The dealer sold it as new old stock.  It was originally a more beautiful candy apple red, but it sat in the Florida sun for a couple years and I had to repaint it.  This color is ferrari red.  She cleaned up nice.  The boxy gauges were the popular style in 1982.

I sold it after I had bought my 2007 triumph thruxton.

The dual megaphone exhausts sound sweet.

Everything is original except the horn.  I replaced that the first year I had the bike.

This motorcycle looks very unique on the road compared to most modern bikes.

Engine is solid, runs smooth, and purrs like a kitten.
It’s always been cold blooded… so it requires a little choking for a cold start and a short warm up period.

Categories: DIY Tags: